

POSSE PERK Benefit from the latest information and Free Seminars on destinations
POSSE PERK:
Benefit From the Latest Information and Free Seminars on Destinations

THE KICK OFF EVENT IN BARRA DE NAVIDAD IS THIS WEEKEND. PARTICIPANTS ARE BENEFITTING FROM A HOST OF SEMINARS TO CHOOSE FROM.
For cruisers that are unable to attend the kick off event, there are virtual opportunities to learn from other webinars available this week from the Tropical Analysis and Forecast Branch of the National Hurricane Center and National Weather Service in Miami, Florida, USA
Please join us next week for a pair of webinars on Forecast Products and Services provided by the National Weather Service's Ocean Prediction Center and Tropical Analysis and Forecast Branch. The webinars will be held Thursday, December 12th, and Friday, December 13th, at 1pm EDT.
For Atlantic forecasts N of 31N (30N in the Eastern Pacific):
Please register for Blue Water Mariners - OPC Products and Services on Dec 12, 2024 1:00 PM EST at:
https://attendee.gotowebinar.com/register/6899628322383892311
For S of 31N / 30N:
Please register for Blue Water Mariners - TAFB Products and Services on Dec 13, 2024 1:00 PM EST at:
https://attendee.gotowebinar.com/register/6374980956027722073

LET THE SEASON BEGIN
LET THE SEASON BEGIN
Hurricane season is officially over in the Atlantic and people are getting underway and moving

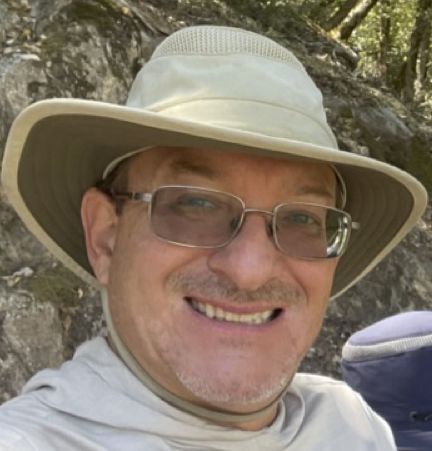
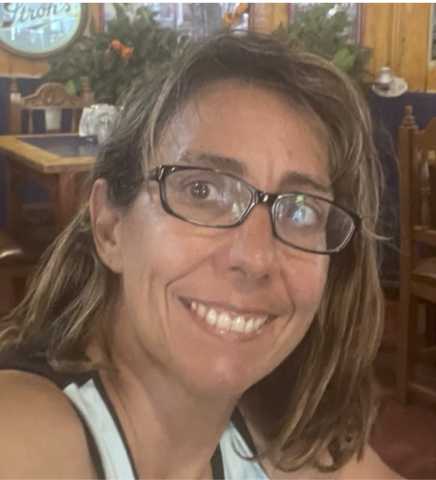
After quite a bit preparation Kosmos, 2006 Nordhavn 43, with crew Christi, Eric, and Keith underway from San Diego to Marina Coral in Ensenada. Planning to get to Panama in a month or so. Our next journey begins! Tracker on.
Keith simple sentiment is he is “excited”. I am reflective how special and rare it is to pull off living on a cruising boat, it offers such a wider range of emotions than land life. I am also ready to use the various upgrades to Kosmos to hopefully keep us safe and comfortable.

SY KOSMOS 🇺🇸 Eric, Christi, & Keith - Nordhavn 43'

SV QUE VENDRA SHARES TRIP REPORT FROM DRAKE BAY, COSTA RICA
SV QUE VENDRA
SHARES TRIP REPORT
FROM DRAKE BAY, COSTA RICA
Olena & Maciek from SV QUE VENDRA recently sailed into Drake Bay, Costa Rica. Drake bay is a quintessential anchorage on the north side of Cordova National Park one of the most biodiverse national parks in the world. The Bay can be quite protected and a great springboard for many shoreside adventures. Drake Bay has an air of historical relevance that leaves a lot to ones imagination.


Here SV QUE VENDRA share their report:


SY QUE VENRA 🇺🇸 Maciek & Olena – Outbound 46’


THANK YOU FOR SHARING YOUR ADVENTURE

Legend and Inspiration Found in the Boatyard
Legend and Inspiration Found
in the Boatyard
Raitea, French Polynesia
By Mike Descheemaeker of SV WHIRLWIND

A lot has changed since yachtsmen and women or personages de yachtie set out to sail the globe in the 1960s. Back then boats were built heavier and running rigging did not always involve winches to facilitate the hauling. Additionally, there were a lot more classic boats still active at that time which meant blocks and tackle, natural fiber lines and sails, full keels, belaying pins and sextants for offshore navigation.
Fast forward to 2024 and we are able to sail the globe more easily with a plethora of go-gadgets and fingle fangits that have made navigating and living onboard more accessible to a broad range of people. Modern yachts are equipped with lithium battery banks, mppt charge controllers, gps, chart plotters, ais transponders and receivers, blue tooth this and blue tooth. While rely on many of these new technologies aboard, I often question how safe it is to depend on them entirely. Furthermore, I also have a passion for classic sailing traditions which compels me to keep an eye on the older ways of doing things because when the gadgets throw a fit and need a good sorting out we need to have a solid backup plan. I practice with the sextant to be able to closely fix our position wherever we are. I love to read about famous sailors of old and how they navigated the high seas. I have long taken inspiration from the use of time tested techniques to the requisite resourcefulness of many sailors before me which is why I got a excited when I saw Bernard Moitessier's last boat, Tamata, at the boatyard recently.
For the last two and a half weeks SV WHIRLWIND has been on the hard at Chantier Naval de Iles Sous le Vent, or CNI, or Leeward Islands Boatyard in Raiatea, French Polynesia doing, among other things, a bottom job. Everyday, there were roosters next door to thank for sounding the alarm at first light to snap to and work the day away. ...And everyday there was SV TAMATA to reminding me of the classic resourcefulness and the spirit of adventure that makes for a truly self sufficient sailor and has inspired me for many years.

One of the first things I saw after the telltale red steel hull were cable clamps on the eyes of the standing rigging: Mechanical fittings, yes indeed, but not yachtsmen fittings. These cable clamps are industrial or agricultural hardware readily available right here in town beside the beer and produce at the magasins (french for 'general store'). Resourceful, practical, locally available, and affordable. Now, I am not suggesting that we replace our fancy yachtsmen rigs with farm hardware, or that cable clamps be recognized as a marine rigging hardware, but I take note that people have gone far in crazy conditions with this type of rigging and made themselves legends in the process. The beauty is in its simplicity and ability to be purchased locally which is something we seem to be able to lose sight of all too easily as modern sailors. With improved shipping times, costs, and import agents readily available to bring in almost anything, anywhere for a fee...self reliance seems to be slipping away. And yet, looking at TAMATA I am reminded of a truly self-reliant sailor and his boat before me.
Moitessier's story is held in awe by all sailors I have raced with. Along the racecourse we often make jokes about going around again because in the first of its kind 1968 nonstop Golden Globe circumnavigation race he made the remarkable decision to bypass the finish line and simply continue sailing nearly 2/3 of the way around again before stopping!?
"I continue without stopovers towards the Pacific islands, because I am happy at sea and perhaps also to save my soul."

It is not only his sailing that has given him legend status in my eyes. He is also known as a minimalist, a sailing mystic, and a pacifist/environmentalist even though he spent time in the French navy during the Indo-Chinese war in Vietnam. His biography, Tamata and the Alliance, tells the tale of a man torn between family, country, and friends in the depths of war. It goes on thru his whole life after leaving Indochina on a leaky Marie-Thérèse in 1952 and crossing the Indian Ocean during monsoon season. This voyage unfortunately came to a abrupt halt on a reef near Mauritius and loss of his boat. He got a job on a freighter and headed back to France to start over. He worked at a medical supply company and wrote his first book (Vagabond des Mers du Sud) about his sailing journeys. With the proceeds from this book he and his wife built a famous ketch, Joshua, named after Slocum. They sailed Joshua from France into the South Pacific hoping to circumnavigate the globe. With time and money running out they turned back east around Cape Horn towards France. Sailing non stop from Tahiti back to France they logged the longest non stop yachting record at that time. The legendary Golden Globe Race during which he continued around the world another 2/3 lap brought him back in Tahiti. Here he became part of a group of locals and sailors resisting atomic tests in the Tuamotus. After battling to windward from the Societies a group of yachts and their crews placed themselves and their boats in the target area to try and halt the French bomb testing. A disruption occurred but a halt was not achieved. Moittesier also tried to minimize development along the Papeete waterfront.
It has been over 50 years since the Golden Globe race brought competitive non-stop solo circumnavigation into focus. It has been over 50 years since Robert Knox Johnson won the race after sailing 312 days nonstop and Bernard Moitessier dodged the finishline to keep on sailing. New races are underway testing new sailors, new vessels, and new technologies. Currently, the Vendee Globe race is underway from Brittany around the southern ocean and back to France. With amazingly modern foiling mono hulls matched with Uber modern electronics, oh so sweet sails and furlers solo sailors are blasting thru the ocean at speeds well over 20 kts for days and weeks on end doing the rounding in 80 or 90 days not 312. After starting in the early morning hours from Vendee after experiencing the massive crowds cheering each sailor as they get underway and head for the start line the sailors say 'adieu' and take off on there very own trip. The brave sailors of the Vendee Globe race are right now pushing themselves and their boats to the limit seeking glory on the main stage but more importantly something inside themselves separate from the podium or press.
What is that something? Something that pushes them. Something that inspires them. Something that humbles them. Something that give them the chance to prevail. Something that gives them a chance to connect with the legendary sailors, adventurers, and explorers that came before them and the ocean all around them. Whether part of a race or not, it takes a leap of faith to believe in yourself, your vessel, and your crew, a whole lot of courage, and a little bit of crazy to hop across an ocean, to watch the land slip below the horizon and not come up ahead for many days. And it takes self reliance to rock on anchor in paradise, to chase our dreams, to push our limits. While so much has changed some things at the core really just have not.
Side Note: I have to say that hauling at CNI was an incredibly pleasant boat yard experience. As in many places in French Polynesia there are free range fowl and they are a crack of dawn wakening force. The rooster alarm clock system is top notch and I’m rarely asleep after 0530 which is great because nothing happens on the bottom of my boat from the rack. From the topsides on the stands I have both mountain and reef surf sunset views that are incredible! There is a Mediterranean food truck in walking distance that dishes up the most incredible gyros this side of Gibraltar! Taputu, Punuarii, Ioane, Jacques and Nathalie went beyond and above to make my time on the hard prosperous for Whirlwind. Having a bunch of French sailors around really raises the bar on standards of workmanship especially in the sailing department. Couple that with the traditional boat building skills and general care of the local folks being honed into modern materials and techniques and you have a very solid platform for taking care of your boat. It’s amazing how many boat fabrication operations there are scattered around the area. CNI uses a hydraulic trailer which always gives me a bit of pause but, even with a 6.7’ draft, I had no issues and never felt concerned. Their jack stands and blocking materials are first class. With a huge array of Lagoons and Outremers in storage or being worked on the front yard looks like a showroom for French catamaran. There is a huge knowledge base for these types of boats here. If you need to haul out and store, get work done, or diy I would not hesitate to give CNI a shout.
contact@cnislv.com
SY WHIRLWIND 🇺🇸 Maurisa, Mike, Russell & Josea – Alajuela 48’


BOCAS DEL TORO ANCHORING ALERT
BOCAS DEL TORO ANCHORING ALERT

SV MAISON DE SANTE spent hurricane season in Bocas Del Toro. They have a finger on the pulse there and share new restrictions that affect the anchorage in Bocas del Toro outside Red Frog Marina.
ATTENTION: Starting December 6, 2024, boats are NO longer able to anchor outside Red Frog Marina in Bocas Del Toro, Panama or they may be subject to $250-$300 fine by the Armada. All boats who were in the anchorage were told to leave by the Armada yesterday. I confirmed this with both a boat who was in the anchorage as well as a marina resident. The exact circumstances that led to this decision are unknown at this time.
SY MAISON DE SANTÉ 🇺🇸 Nicole & Keenan - Cal 46'


SV PERCEPTION in the Cayman Islands
SV PERCEPTION in the CAYMAN ISLANDS
November 20-23, 2024
Ocean Posse vessel, SV PERCEPTION, started this cruising season off in northern Costa Rica. They have spent the last three months cruising from Marina Papagayo, Costa Rica southeast along the coast through the Panama Canal and north-northwest to the Isla Mujeres, Mexico off the west coast of Cancun. On their recent passage to Isla Mujeres they decided to avoid a cold front and take a detour and pause in the Cayman Islands. Here they share of their adventures upon their arrival in the Cayman Islands en route to Isla Mujeres Mexico.

The blue-water crew of Perception (Marty, Grace, Jim) arrived at Grand Cayman on a fine Wednesday afternoon after a raucous 4-day sail from Panama. And boy is the water blue – after life in the Pacific; we’ve seen nothing like the clarity and brilliant azure color of the water surrounding the island. We cleared in at the port in Georgetown after following the harbor patrol pilot boat up to the quay. Port Security and the customs and immigration officials were all super friendly and helpful – a real pleasure after some of our experiences on the mainland over the past year. We had reservations at Marina Barcadere thanks to the shore-side persistence of Admiral Melinda and motored for 2.5 hours around the island into the bottom of North Sound to finally tie up and relax.

Our first surprise at Marina Barcadere was the docks – no floating docks! Obviously, the tidal range is minimal, about ½ meter while we were there, but we weren’t used to high docks that don’t move with you. It took some fender adjustments to get things right and avoid trapping our big ball fender under the dock during the tidal cycle. I don’t think we’ve ever been at a marina where we’ve had to step off Perception at the shrouds.

The marina is in decent shape with wooden docks that are sound, with solid power, and potable water. The marina office is in the nearby Scotts Marine building which contains a chandlery mostly targeted at fishing boats. The boat yard sports a 26-foot beam travel lift – I haven't had a chance to investigate further but it could have been a haul-out point even for our fat cat. The nearby Georgetown Yacht Club has a good restaurant where we dined three times during our stay. Conch fritters anyone?
We had about a day and a half to tour the island while waiting for our next weather window. The airport rental car center is just a 15-minute walk from the marina, so we picked up a little Toyota for about $45 per day and buzzed around the island. Our first stop was the Cayman Crystal Caves on North Side. The caves were opened for touring relatively recently, and offer 1.5 hour guided tours of the caves. (https://www.caymancrystalcaves.com/)
The caves and surrounding grounds are quite interesting and extensive. Our guide entertained us with history and information about the flora and fauna of the area. I was impressed at the good condition of the caves and features inside. They seemed little disturbed other than what had been done to open the caves for visitors. The lake in the caves offered a reflective view of the cave ceiling deeper in, and was the gem of the tour.


Our next stop on the island was Hell, pretty much a tourist trap but a fun and free stop where you can mail a postcard from Hell if the post office is open. The attraction in Hell is really just a jagged assortment of limestone rock formations with a couple of wooden platforms for an overlook. Hell is a painless stop on the way to the Cayman Turtle Center as long as you aren’t competing with a busload of cruise ship passengers.


Our last tourist stop on the island was the Cayman Turtle Center ( https://www.turtle.ky/). The center opened in 1968 and is billed as the longest operating conservation center for green turtles. The main attraction is the turtle breeding bay, where approximately 280 turtles are in constant motion giving you an up-close view of the massive animals. The bay is backed by a sandy beach where the females can lay their eggs which are then collected by the park staff to incubate in a controlled environment.
The friendly park guides provide information about the center and the turtles therein, happily pointing out Sparky, the oldest turtle in the pond at 95 years. There are many other pools in the park where you can get really close to the big turtles and touch the smaller ones.


After a few days stretching their sea legs SY PERCEPTION got their weather window from the Cayman Islands to Isla Mujeres Marina, Mexico. Jim reports that,"The sail from Cayman to Isla Mujeres was a pretty wild ride for me" and " We sailed almost the whole way with just our white sails doing 7-10 knots (pretty good for our cruising cat and my sailing skills)." With this leg of their voyage behind them they are now they are enjoying some well deserved downtime poolside.

SY PERCEPTION 🇺🇸 Jim & Melinda & Grace - Lagoon 42'


THANK YOU FOR SHARING YOUR ADVENTURE!

CANAL CROSSING NOTES
CANAL CROSSING NOTES
Many Ocean Posse members cross the Panama Canal at some point on their journey. When this time comes people often wonder about the actual logistics of the transit, what food and beverages make for an easy day and happy line handlers, etc...
SV BRIGADOON III recently crossed the Panama Canal and is sharing the notes they shared of their experience to "give some friends a feel for what to expect and see it from my perspective".


The night before the transit, the four line-handlers arrived with the fenders and lines. One of the line-handlers was (Posse Sponsor and Canal Agent) Erick (Galvarez)’s son, Juan and another was Juan’s uncle “Junior”. Junior seemed to be the head line handler and gave the others direction. They slept one on each salon sofa, one in the aft quarter berth and Junior slept in the cockpit because, as he said, he snores.
The line-handlers arrived on time, as planned, at 6:30 pm and we had dinner ready for them -Spanish style meatballs in a roasted pepper sauce on Orzo, bean-corn salad and grapes for dessert. They devoured everything and all wanted to know what orzo was. They also drank water and Coke. I had read that they like Coke; regular not diet.
We had dinner before they arrived to simplify things. After dinner, they took off and Junior stayed and went to bed. Doug and I also went to bed and didn’t hear a peep from anyone.
We got up at 2:30 am and left the marina at 3:15 am to travel to a point between markers 2 and 4 to pick up our advisor. This area is just outside of Playita Marina. It took a while for Carlos, our advisor, to show up in the big pilot boat but eventually did and readied himself in the rocky seas for a very heroic leap to our boat. Once the advisor was aboard, all the line-handlers, except uncle Junior, went back to bed and we travelled in the dark under the Bridge of the Americas to the first lock which is about 7.5 miles from where we had picked up Carlos at about 4:15 am.
It was just getting light when we entered the first lock. The advisor gave us instructions and explanations for everything we needed to know as we went along, such as what to expect in the lock and that it takes 8 minutes for the water to fill the lock. He also explained how and when we would raft up to the other sailboat we were travelling with.
Because we were up-locking, we would travel behind the commercial ship. At the other end we would be down-locking and would be in front of the commercial ship.
We cleared the third lock at about 8 am so I got the coffee on and had oranges and muffins for everyone to tide them over while I made breakfast - rice and beans, eggs, avocado and salsa plus orange juice and more oranges. They love rice and beans.
As expected, the three younger line handlers went below to bed or rest and we carried on through Gatun Lake passing huge freighters going the opposite way.
At 12 noon and before we got to the Gatun locks, I made lunch - Chicken Chorizo Paella, grapes and watermelon. They also had water, coke and orange juice. Again, they gobbled it all up and helped with the dishes. Phew, no more dinners. We continued through the Gatun locks and about 20 minutes later the pilot boat showed up for Carlos the advisor. The three line-handlers continued on with us to Shelter Bay and Erick was waiting for them to transport them back home.
I want to add a comment on the line-handlers. Generally, when they are not needed, they are happy to hang out inside the boat. They were professional, tidy and kept their bags away and out of sight. They seemed to have a sixth sense of when they were needed as they would appear topsides, ready to work, out of nowhere. I suspect Erick has coached them because they were quiet, pleasant and thanked me for every meal. As for food, they liked the rice dishes and fruit. They had seconds of these dishes and they can pack away the food. They were not too interested in sweets such as muffins but did eat a bit of the chocolate that I had. According to Erick, they also like pasta. Remember, lunch is their main meal of the day. They appreciate water and Coke and enjoyed the orange juice I had.

SV SUMMERBREEZE followed in the wake of SV BRIGADOON III and found the notes super helpful.
SY BRIGADOON III Doug & Patty – Saga 43’ & MV SUMMERBREEZE 🇺🇸 Sam & Kurtis - Bestway 46'


THANK YOU FOR SHARING YOUR NOTES AND YOUR COMMUNITY SPIRIT WITH ONE ANOTHER!

ADVENTURES IN PANAMA ABOUND PART 1
ADVENTURES IN PANAMA ABOUND
PART 1: ISLA TABOGA
Cruisers visiting Panama find adventures on land and out on the water. Over the years Posse members have collectively seen so much of what the country has to offer. There are so many great adventures to chose from. A quick list includes: Isla Taboga, the mountain towns of Boquette and El Valle, the Canal Museum in Casco Viejo, the sloth sanctuary in the Gamboa Reserve, cruising the Coiba group, cruising the Perlas Islands, walking up Ancon hill overlooking Panama City, touring the Miraflores Lochs....and many many more. Part 1 of ADVENTURES IN PANAMA ABOUND will explore the interesting history and adventure opportunities at Isla Taboga, Panama.
Rich in historical significance and boasting a relaxed getaway charm, Isla Taboga is an excellent place to visit near Panama City. The island is so close to the city that there are multiple daily 30 minute ferries that bring people to and from the island for $17 round trip. People visit to enjoy the beach, restaurants, hotels, multiple hiking trails, and the history.
Isla Taboga was discovered in 1513 by the Spanish explorer Vasco Nunez de Balboa. Many subsequent explorers who crossed the Atlantic from Seville, Spain would disembark in what is now Portobello on the Caribbean coast of Panama, cross the isthmus of Panama on foot or by horseback until they reached Panama City. They would then board canoes to the galleons anchored off Taboga. Deep waters with good holding surround the island and made it an excellent place for large vessels to find safe harbor from which to explore and conquer new lands near and far.
Like the ships of old the same anchorage is used today by modern transporters awaiting passage through the Panama Canal.
Going back 500 years again: By 1524 Father Hernando de Luque founded a church in the center of town and christened the town San Pedro. The Church, while noted for being one of the oldest churches in the Western Hemisphere, is still standing and well cared for.
|
|
In the late 1500’s the island was renamed Taboga. “Aboga” means “abundant fish” in the indigenous language of Taboga’s early inhabitants. In the 1500’s many of Taboga’s inhabitants on record were slaves from Venezuela and Nicaragua. The first Catholic saint of the Americas is said to have been born on the Island. There is a cross in her honor on a hilltop with a beautiful view. Today many people think of Taboga as the ”Island of Flowers” for all the flowers cascading over walls (from the most well maintained to the ancient, crumbling ones) and growing in the jungle. The island is 12 square km; town itself, like many on the nearby islands, is quite densely packed and surrounded by wild jungle.
|
Today, one can travel along all the residential footpaths or in golf carts on the narrow streets in an afternoon and could spend days and days meandering through the jungle in search of treasure, wildlife, or relics of the past. |
|
Treasure: Early prosperity turned Taboga into a target for piracy. In the 1600’s pirates became a formidable force in the area and Taboga was no stranger to their presence and pillaging. Infamous Pirate Henry Morgan among others is said to have sacked the island and used it as a base while attempting to sack Panama City and other nearby islands. Legend has it that there are ashes of pirates inside the walls of the church and treasures buried on the island. One can walk to a monument called Los Tres Cruzes to see the three graves of pirates that attempted to disturb the peace on Taboga. They lost their lives in the fight and have remained as a symbol to all who visit. Taboga is not to be sacked ever again. Wildlife: Taboga is a volcanic Island that rises above the sea with a dense and healthy tropical forest. While hiking through the forest we were treated to many (74) poison dart frog sightings, the smell of flowers, the sound of rain paddling the canopy overhead, the refreshing cool of mist hanging in the air slowly dripping down to the dark brown forest floor. On the highest peak we enjoyed being at eye level with the largest and smallest of birds, from the black headed vultures to bright green teeny-tiny hummingbirds. Relics of the past: In the 1840’s the Pacific Mail and Steamship Company set up a shipping company on Taboga thinking they would move mail and produce throughout the region. They ended up moving gold and gold diggers to and from California during the Gold Rush. There are remnants of their shipyard operation on Isla Morro which is connected to Taboga by a sand spit. In 1885 a medical center was built on the island while the French were making their attempt at the Panama Canal construction. Many workers would take ill and go to Tabogo for care and quarantine. While convalescing on Taboga, French painter Paul Gauguin, painted a scene of the bay that is appreciated to this day. Additionally, the US military build a base on the island during WWII. A bunker was built on the highest point with a 360 degree view that today offers a welcome breeze and incredible views of Taboga Bay, Panama City, the perlas Islands, and ships awaiting Canal transit. |


LA PAZ, MEXICO RESOURCE GUIDE
LA PAZ, MEXICO RESOURCE GUIDE
FROM THE CRUISERS HUB AT CLUB CRUCEROS

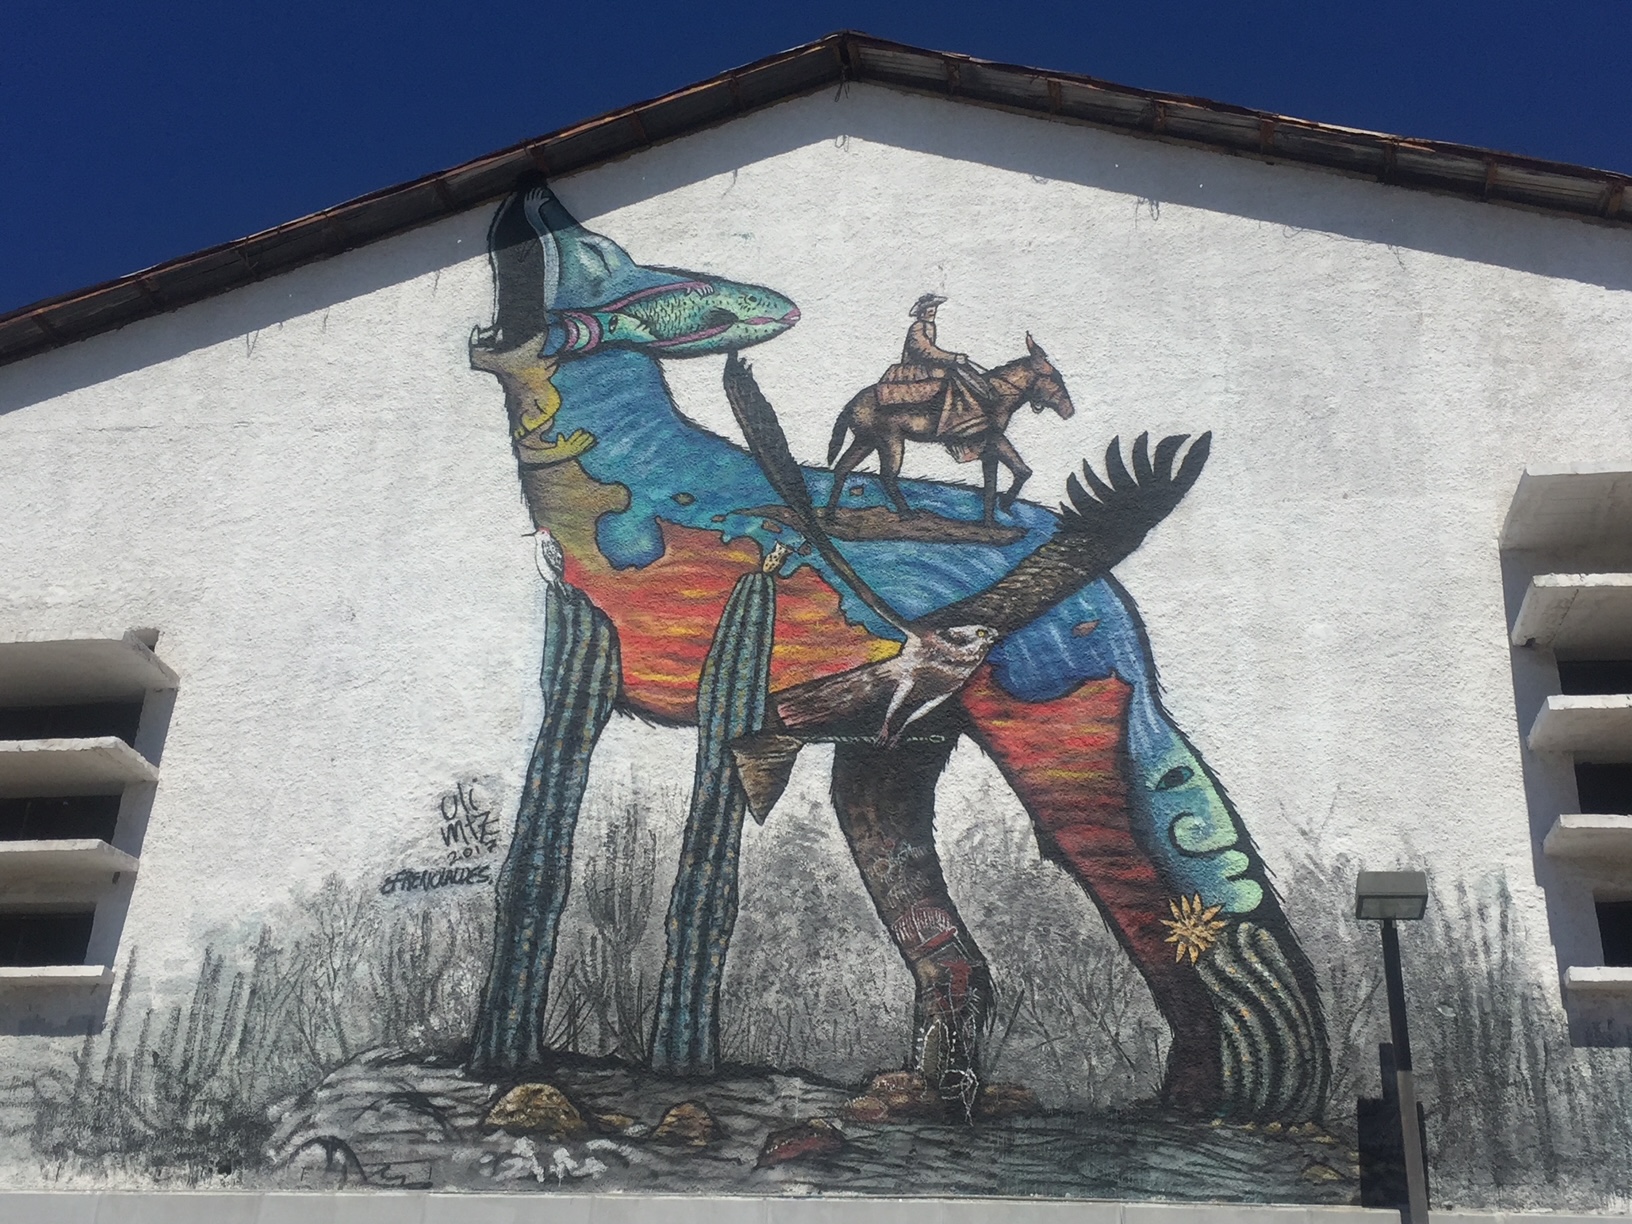
La Paz, the capital of Baja California Sur, is a major stop for cruisers and a gateway to the Sea of Cortez. About 50 nautical miles from Bahía de Los Muertos, La Paz offers several marinas, boatyards, and provisioning options. The city is known for its vibrant culture, murals big and small, great restaurants, and long Malecon (waterfront promenade). There are numerous anchorages around La Paz, such as Bahía Falsa and El Mogote, but the currents can be tricky, so mariners need to be careful. The anchorage in La Paz proper is noted by many to have what people call, "the La Paz Waltz" because the boats seem to dance around their anchor and one another throughout the day.
Ashore, cruisers find a welcome dinghy dock and cruisers hub at Marina La Paz. The cruisers hub is called Club Cruceros. The club hosts morning coffee, tends a 'give and take' library, and most notably, maintains a La Paz Cruisers Guide. This guide is kept up to date by resident long time cruisers. For all mariners planning a stop in La Paz, this resource is free and available in pdf form here: https://www.clubcruceros.net/Cruiser_Guide.pdf?

Using this guide, the city is made very accessible.
The art and murals throughout the city add to the beauty and whimsy of the visit.


MUST SEE ISLA ISABEL NATIONAL PARK MEXICO
MUST SEE: ISLA ISABEL NATIONAL PARK, MEXICO 🇲🇽

Isla Isabel National Park is a Mexican national park and protected area located off the coast of Nayarit southwest of Mazatlan. This isolated island was one Jacques Cousteau’s favorite places and Cousteau himself made the recommendation to the Mexican government to designate this island as a National Park. He spent a great deal of time here and has aired many specials on this fabulous gem. The Undersea World of Jacques Cousteau aired in 1975.
Isla Isabel is one of the main nesting islands for seabirds in the Pacific, including large colonies of Magnificent Frigate birds over 11,000 Fregata magnificens , Blue-footed Boobies Sula nebouxii, Brown Boobies Sula leucogaster and Sooty Terns Sterna fuscata. Marine life is rich, with over 24 shark and ray species, three species of sea turtles, the California Sea Lion Zalophus californianus, Humpback Whale Megaptera novaeangliae and Killer Whale Orcinus orca.
The island is uninhabited by humans, though there is a seabird reproductive research program run by UNAM and tourists visit to camp, fish and bird watch. After having depleted a huge colony of Sooty Terns, which in 1978 had over 150,000 pairs, cats were finally eradicated from the island in 1995 and the Terns are slowly recovering. The biodiversity and migratory populations of animals that live and return here year after year is a stunning MUST SEE.


